Homemade Lentil Flour: Your Nutrient-Rich, Gluten-Free Alternative
In an increasingly health-conscious world, many are seeking out nutritious, naturally gluten-free alternatives to traditional wheat flour. Among the most promising options is lentil flour – a versatile ingredient that's not only packed with goodness but also surprisingly easy to make right in your own kitchen. If you've ever wondered how to make lentil flour and unlock its incredible benefits, you've come to the right place. This comprehensive guide will walk you through everything you need to know, from selecting the perfect lentils to grinding them into a fine, culinary-ready powder.
Homemade lentil flour offers an unparalleled level of freshness and control over your ingredients. Unlike store-bought varieties, you can ensure your flour is free from additives, preservatives, and any potential cross-contamination, making it ideal for those with specific dietary needs or a desire for pure, wholesome foods. Plus, the satisfaction of creating such a foundational ingredient from scratch is a reward in itself. Let's dive into why lentil flour deserves a prime spot in your pantry and how you can easily make it a staple in your diet.
Why Embrace Homemade Lentil Flour? A Nutritional Powerhouse
Lentil flour is far more than just a gluten-free substitute; it's a nutritional titan that can significantly elevate the health profile of your meals. While many American chefs traditionally cook and mash lentils into dishes, the ancient wisdom of Indian cuisine, where lentils are regularly ground into flour, highlights its true potential as a dry ingredient. Incorporating this flour into your diet can bring a wealth of benefits:
- High in Protein: Lentils boast approximately 25% protein content, making their flour an excellent plant-based protein source for vegetarians, vegans, and anyone looking to boost their protein intake. This helps with muscle repair, satiety, and overall body function.
- Rich in Fiber: With abundant dietary fiber, lentil flour aids in digestive health, promotes feelings of fullness (which can assist in weight management), and helps stabilize blood sugar levels, making it beneficial for those managing diabetes.
- Packed with Micronutrients: Beyond macronutrients, lentil flour is a treasure trove of essential vitamins and minerals. It's particularly high in iron, crucial for energy production and preventing anemia, and folate (Vitamin B9), vital for cell growth, DNA synthesis, and especially important during pregnancy. Other notable nutrients include magnesium, potassium, and B vitamins.
- Naturally Gluten-Free: For individuals with celiac disease or gluten sensitivity, lentil flour provides a safe and delicious alternative to wheat flour, allowing them to enjoy baked goods and other flour-based dishes without worry.
By swapping even a portion of traditional wheat flour with homemade lentil flour, you can dramatically enhance the nutritional value of your everyday recipes, from baked goods to thickening agents for soups and stews. It���s a simple change that yields significant health dividends.
Choosing Your Lentils: A Spectrum of Flavors and Colors
The type of lentil you select for your flour will subtly influence its color, flavor profile, and even how it behaves in your recipes. While the basic process of how to make lentil flour remains the same, experimenting with different varieties can open up a world of culinary possibilities.
- Brown Lentils: These are the most common and widely available lentils. They yield a flour with a neutral, earthy flavor, making them incredibly versatile. Brown lentil flour is excellent for general baking and thickening, as its flavor won't overpower other ingredients. It typically produces a light beige to brownish flour.
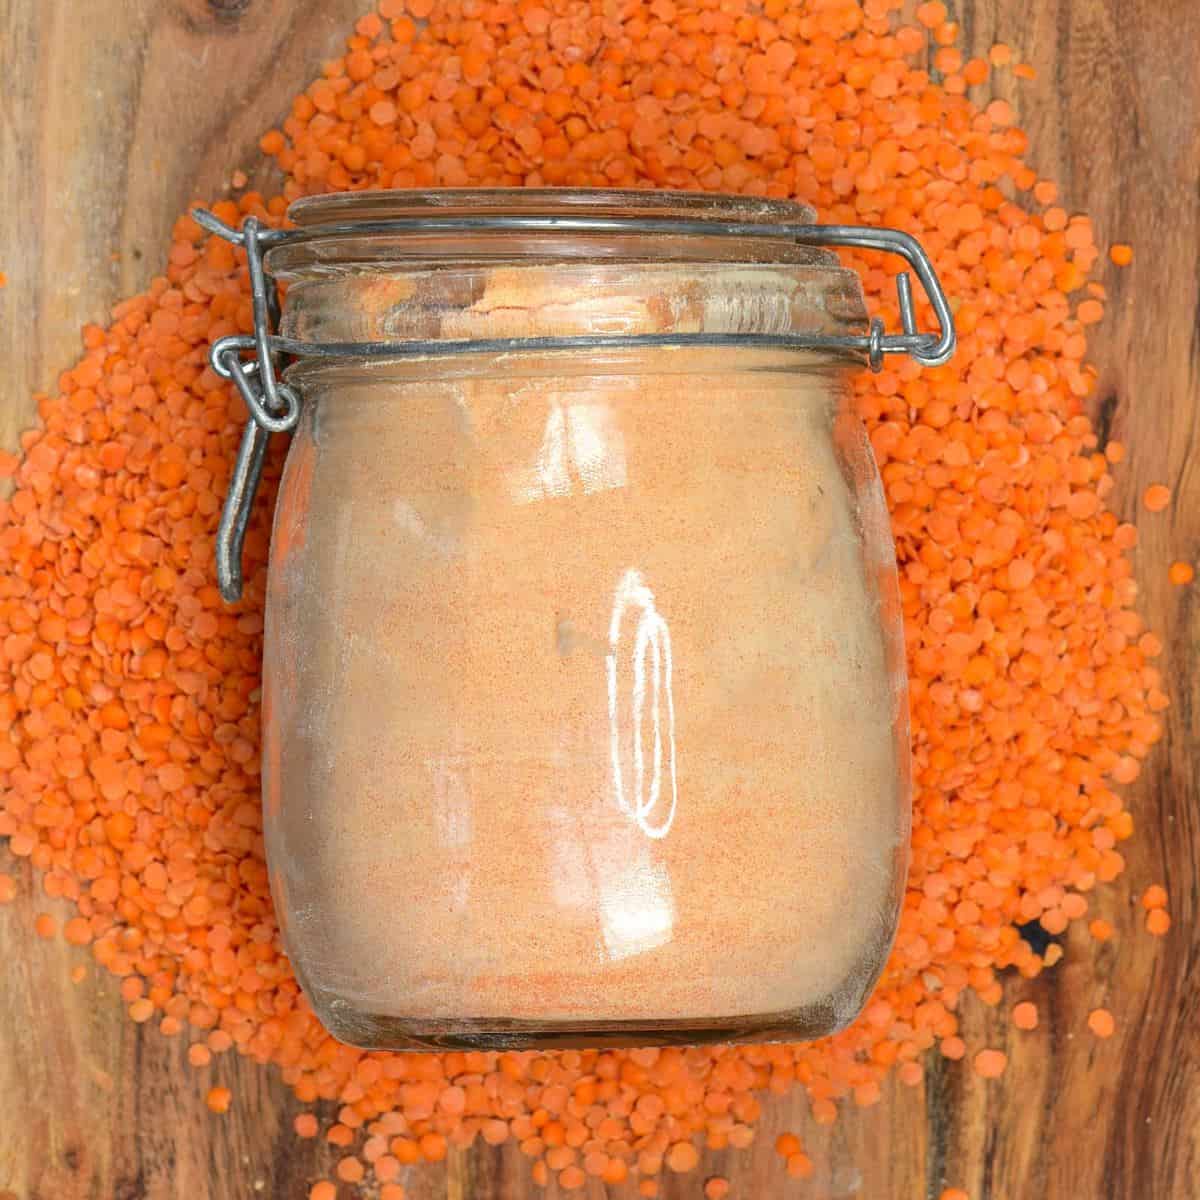
- Red Lentils: Known for their quick cooking time when whole, red lentils produce a flour that's slightly sweeter and vibrant in color, often an attractive orange hue. This flour can add a beautiful visual element and a subtle sweetness to dishes, making it great for breads, pancakes, or even Indian flatbreads like dosa. They tend to be smaller and split, which can make them a bit easier to grind.
- Green Lentils: Larger and holding their shape well when cooked, green lentils contribute a slightly more robust, earthy, and peppery flavor to flour. This can be fantastic in savory applications, such as binding for veggie burgers, thickening stews, or even in hearty gluten-free bread recipes where a distinctive flavor is desired.
- Black Lentils (Beluga): Often compared to caviar due to their dark, glossy appearance, black lentils create a flour with a rich, earthy, and somewhat complex flavor. This flour can add depth and a striking dark color to your culinary creations, suitable for more gourmet or distinctive savory dishes.
Consider the final dish when choosing your lentils. For a mild, all-purpose flour, brown lentils are your best bet. If you want a sweeter, more colorful flour, go for red. For earthy, savory notes, green or black lentils will shine. Don't hesitate to experiment and discover your personal favorite!
Step-by-Step Guide: How to Make Lentil Flour: Gluten-Free & Protein-Packed at Home
Making lentil flour at home is a straightforward process, requiring minimal equipment. The key steps involve preparation, toasting, grinding, and sifting. Here’s a detailed guide to help you create your own nutrient-dense, gluten-free flour.
Ingredients:
- 1 pound (approximately 2 cups) of whole, dried lentils (of your chosen variety)
Equipment:
- Fine-meshed sieve or colander
- Large baking sheet
- Clean dish towels
- Large skillet
- Grain mill (recommended) or high-powered food processor
- Fine sieve for sifting flour
- Airtight container for storage
Directions:
- Rinse the Lentils: Place 1 pound of dried lentils into a fine-meshed sieve or colander. Rinse them thoroughly under cold running water, moving them around to ensure all surfaces are washed. Inspect the lentils carefully and remove any small stones, debris, or discolored/damaged lentils.
- Dry Completely: Lay a clean dish towel on a large baking sheet. Spread the rinsed lentils over the towel in a single layer. Use another clean towel to gently pat the lentils, absorbing as much excess liquid as possible. It is absolutely crucial that the lentils are completely dry before moving to the next step. This can take several hours, or even overnight, depending on your environment. Air drying ensures proper grinding and prevents spoilage.
- Toast the Lentils: Once the lentils are bone dry, transfer them to a large, dry skillet. Toast them over medium heat for approximately 5-7 minutes. Stir frequently and consistently to prevent them from burning. Toasting enhances their flavor, makes them easier to grind, and can help improve the flour's shelf life. You'll notice a slightly nutty aroma as they toast. Do not over-toast; you're not trying to cook them, just dry them further and bring out flavor. Remove from heat and spread them back on the baking sheet to cool completely. This cooling step is vital before grinding.
- Grind the Lentils:
- Using a Grain Mill (Recommended): Attach your grain mill (like a Mockmill) to your stand mixer or use a standalone unit. Set the mill to its finest setting. Once the toasted lentils are cool, place them in the hopper. Turn on the mixer/mill and grind the lentils. Grain mills are incredibly efficient for hard grains and legumes, producing a fine flour quickly without overheating. For more detailed insights into various grinding methods, refer to our article on Grind Your Own Lentil Flour: Grain Mill vs Food Processor Tips.
- Using a High-Powered Food Processor: If you don't have a grain mill, a high-powered food processor can work, but it requires more patience. Grind the lentils in small batches. Pulse repeatedly, allowing the food processor to rest frequently (every 30-60 seconds) to prevent the motor from overheating. The lentils are very hard, so this process will take longer, and you may not achieve as fine a flour in the first pass.
- Sift the Flour: Sift the freshly ground lentil flour through a fine-meshed sieve into a clean bowl or container. This step ensures a consistent texture, removing any larger, unground pieces.
- Regrind (Optional): Any larger pieces of lentils that did not pass through the sieve can be returned to the grinder (or food processor) for a second pass to achieve a finer consistency. Repeat sifting until you have a uniformly fine flour.
- Store Properly: Transfer the finished lentil flour to an airtight container. Store it in a cool, dark place, such as a pantry, for up to 2-3 months. For extended freshness, especially in warmer climates, consider storing it in the refrigerator or freezer, where it can last significantly longer.
Beyond the Basics: Tips for Perfect Lentil Flour and Culinary Uses
Now that you know how to make lentil flour, let's explore some additional tips to perfect your batch and inspire you with its myriad culinary applications.
Tips for Perfect Lentil Flour:
- Absolute Dryness is Key: This cannot be stressed enough. Any residual moisture in the lentils will result in a clumpy flour that can spoil quickly and damage your grinding equipment. Be patient during the drying phase.
- Don't Skip Toasting: Toasting not only enhances flavor, making your dishes more delicious, but also helps to further dry the lentils, contributing to a finer grind and improved shelf stability.
- Aim for the Finest Grind: The finer the flour, the better its texture and performance in baking. If using a food processor, multiple short bursts with cooling periods are better than one long grind.
- Experiment with Blends: Lentil flour, especially when used in baking, often performs best when combined with other gluten-free flours (like rice flour, tapioca starch, or cornstarch) to achieve desired texture and structure. Start by replacing 1/4 to 1/2 of your regular flour with lentil flour in recipes, then adjust to taste and texture.
Culinary Uses for Homemade Lentil Flour:
Lentil flour's versatility extends across many cuisines and dish types:
- Baking:
- Breads and Muffins: Add a nutritious boost and unique texture. It works well in savory breads, rolls, and muffins.
- Pancakes and Waffles: Create wholesome, filling breakfasts.
- Cookies and Crackers: Experiment with partial substitutions for a richer, more complex flavor.
- Flatbreads: A staple in Indian cuisine for making dosa, uttapam, and other savory pancakes.
- Thickening Agent: Its starchy protein content makes it an excellent natural thickener for soups, stews, curries, and gravies, offering a gluten-free alternative to wheat flour or cornstarch.
- Binding Agent: Use it as a binder in veggie burgers, meatloaves, fritters, or patties. Its protein content helps hold ingredients together.
- Frying Batter: Mixed with spices and water, it forms a fantastic batter for frying vegetables (like Indian pakoras) or other snacks, providing a crispy, protein-rich coating.
Conclusion
Embracing homemade lentil flour is a rewarding journey into healthier eating and culinary creativity. By following these simple steps, you can confidently answer the question of how to make lentil flour and produce a versatile ingredient that's bursting with protein, fiber, iron, and folate. Whether you're navigating a gluten-free diet, seeking to enhance your nutritional intake, or simply love the idea of creating wholesome ingredients from scratch, lentil flour is an invaluable addition to your kitchen. So, gather your lentils, fire up your grinder, and prepare to unlock a world of delicious, nutrient-rich possibilities!
