Grind Your Own Lentil Flour: Grain Mill vs Food Processor Tips
Discovering the versatility and nutritional prowess of lentil flour can be a game-changer for any home cook, especially those navigating gluten-free diets or seeking to boost the protein and fiber content of their meals. Making your own lentil flour at home is not only surprisingly simple but also incredibly rewarding. It provides a fresh, unadulterated ingredient, free from additives, ready to transform your culinary creations. Whether you're aiming for fluffy baked goods, robust flatbreads, or simply a healthier thickener for stews, understanding
how to make lentil flour from scratch opens up a world of possibilities.
The Nutritional Powerhouse You Need in Your Pantry
Lentils are truly a nutritional marvel, and their flour carries all these benefits into a convenient, versatile form. Beyond being naturally gluten-free, lentil flour is an exceptional source of plant-based protein, typically comprising around 25% of its weight. This makes it an invaluable ingredient for vegetarians, vegans, and anyone looking to increase their protein intake.
But the goodness doesn't stop there. Lentil flour is also remarkably high in dietary fiber, which is crucial for digestive health, promoting satiety, and aiding in blood sugar management. For those conscious of weight management or seeking sustained energy levels, incorporating lentil flour can make a significant difference. Furthermore, lentils are packed with essential micronutrients such as iron, vital for preventing anemia and boosting energy, and folate, which plays a critical role in cell growth and development. By swapping even a portion of traditional wheat flour with this nutrient-dense alternative, you can significantly enhance the nutritional profile of your everyday dishes. It’s an easy and delicious way to get more pulses into your diet and enjoy the many health benefits they offer. You can learn more about its benefits in
Homemade Lentil Flour: Your Nutrient-Rich, Gluten-Free Alternative.
Grain Mill vs. Food Processor: Choosing Your Grinding Companion
When embarking on your journey to make homemade lentil flour, the choice of equipment is paramount. While both grain mills and high-powered food processors can get the job done, they offer distinct advantages and present different challenges. Understanding these differences will help you choose the best method for your kitchen and your culinary aspirations.
The Grain Mill Advantage: Precision and Efficiency
For serious home cooks or those planning to frequently make their own flours, a grain mill is undeniably the superior choice. Grain mills, whether stand-alone units or attachments for stand mixers (like the Mockmill Grain Mill attachment for KitchenAid mixers mentioned in our source), are specifically designed to grind hard grains and legumes into fine, consistent flours.
*
Speed and Efficiency: Grain mills process lentils quickly and effortlessly. They are built for continuous operation, making light work of a pound or more of lentils in minutes.
*
Consistent Fineness: The primary advantage is the incredibly fine and uniform texture of the flour produced. This consistency is crucial for baking, ensuring a smoother dough and a better rise.
*
Prevents Overheating: Modern grain mills are designed to handle the hardness of lentils without overheating, which is a common issue with less specialized appliances. This means you can grind larger batches without interruption or concern for motor damage.
*
Durability: Grain mills are robust appliances built for grinding, ensuring longevity even with frequent use.
If you're wondering
how to make lentil flour with the best results, a grain mill should be your top consideration. They deliver professional-grade flour with minimal effort, providing a smooth and enjoyable experience.
The Food Processor: A Viable Alternative (with Caveats)
For those who are just starting out or prefer not to invest in a dedicated grain mill, a high-powered food processor can serve as an entry point into homemade flours. However, it's important to set realistic expectations and understand its limitations when grinding tough legumes like lentils.
*
Accessibility: Most kitchens already have a food processor, making it a convenient option without additional investment.
*
Batch Size Limitations: Lentils are very hard, and grinding them generates significant friction and heat. A food processor's motor is not designed for the continuous, intense grinding required. You'll need to work in small batches to prevent the motor from overheating and potentially burning out.
*
Frequent Breaks: To protect your appliance, you must frequently stop the food processor and allow it to cool down. This makes the process considerably longer and more labor-intensive.
*
Coarser Texture: While a food processor can pulverize lentils, it typically yields a coarser, less uniform flour compared to a grain mill. For some applications, like thickening soups or making rustic flatbreads, this might be acceptable. However, for delicate baked goods, the texture difference can be noticeable.
*
Tips for Success with a Food Processor: If using a food processor, pulse the lentils in short bursts rather than running continuously. Grind only small quantities at a time (e.g., 1/2 cup), allowing the machine to rest for several minutes between batches. Sifting will be even more critical to separate any larger, unground pieces.
Ultimately, while a food processor can technically make lentil flour, a grain mill provides a far more efficient, consistent, and safer experience, especially for those committed to regular homemade flour production.
Your Step-by-Step Guide: How to Make Lentil Flour at Home
Regardless of your chosen grinding tool, the preparatory steps for
how to make lentil flour are crucial for achieving a superior product. These steps ensure cleanliness, optimal flavor, and the perfect texture for grinding.
Ingredients:
* 1 pound of your chosen lentils (brown, red, green, or black – see below for more on selection)
Equipment:
* Fine-meshed sieve or colander
* Large baking sheet
* Clean dish towels
* Large skillet
* Grain mill or high-powered food processor
* Fine sieve or flour sifter
* Airtight storage container
Directions:
1.
Rinse Thoroughly: Place the 1 pound of lentils into a fine-meshed sieve or colander. Rinse them thoroughly under cold running water. Agitate the lentils with your hands to remove any dust, dirt, or small debris. Carefully inspect the rinsed lentils and remove any discolored, broken, or foreign particles. This step is vital for cleanliness and ensures no unwanted elements end up in your flour.
2.
Achieve Complete Dryness: Lay a clean dish towel on a large baking sheet. Spread the rinsed lentils over the towel in a single, even layer. Gently pat the lentils with another clean towel to remove as much surface moisture as possible. The key here is *complete* dryness. Allow the lentils to air dry at room temperature for several hours, or even overnight, turning them occasionally. Any residual moisture can lead to clumping during grinding and reduce the shelf life of your flour. A truly dry lentil will be hard and resistant to pressure.
3.
Toast for Flavor and Grinding Ease: Once the lentils are absolutely dry, transfer them to a large, dry skillet. Toast the lentils over medium heat for approximately 5 minutes. Stir frequently and consistently to prevent them from burning. This toasting step is crucial: it enhances the lentils' flavor, imparts a subtle nutty aroma, and makes them even more brittle and easier to grind into a fine flour. It also contributes to a longer shelf life by further reducing moisture content. Remove the lentils from heat and spread them back on the baking sheet to cool completely. Do *not* grind them while warm, as this can negatively affect the flour's texture and potentially damage your grinder.
4.
Grind Your Lentils:
*
Using a Grain Mill: Attach your grain mill (e.g., Mockmill) to your stand mixer or set up your stand-alone mill. Set the mill to its finest setting. Once the toasted lentils are completely cool, place them into the mill's hopper. Turn on the mixer or mill and grind the lentils. The process should be quick and smooth.
*
Using a Food Processor: If using a food processor, work in small batches (e.g., 1/2 cup at a time). Pulse the lentils for 30-60 seconds, then stop and allow the motor to cool for a few minutes. Repeat this process until the lentils are as finely ground as possible. Remember, you might not achieve the same fineness as a grain mill.
5.
Sift for Uniformity: Pour the freshly ground lentil flour through a fine sieve or flour sifter into a bowl or container. This step removes any larger, unground pieces of lentil, ensuring a smooth, consistent flour texture. Any pieces too large to pass through the sieve can be returned to the grinder (or food processor) for a second pass.
6.
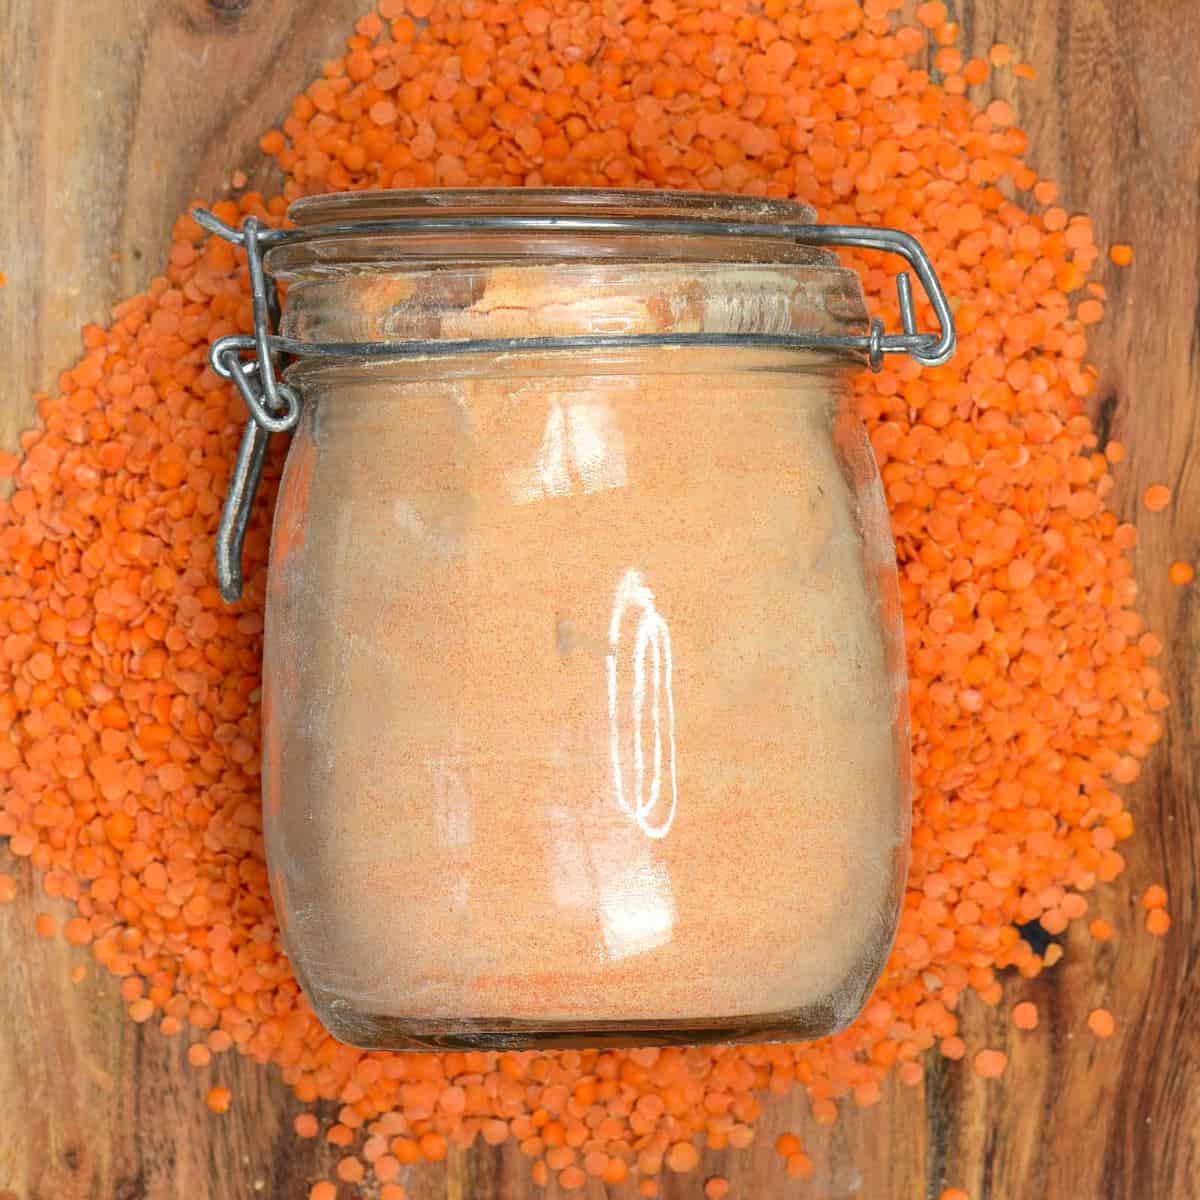
Store Properly: Once sifted, transfer the lentil flour to an airtight container. Store it in a cool, dark pantry. For extended freshness, especially in warm or humid climates, consider storing lentil flour in the refrigerator or freezer, as homemade flours can sometimes have a shorter shelf life than commercial, treated versions.
For a deeper dive into the health aspects, check out
How to Make Lentil Flour: Gluten-Free & Protein-Packed.
Unlocking Flavor: Selecting the Best Lentils for Your Flour
The type of lentil you choose will not only affect the color of your flour but also subtly influence its flavor profile, making it suitable for different culinary applications.
*
Brown Lentils: These are the most common and widely available. Brown lentil flour offers a neutral, earthy flavor, making it incredibly versatile for almost any recipe that calls for lentil flour. It’s an excellent starting point for beginners.
*
Red Lentils: Known for their quick cooking time and beautiful orange hue, red lentils yield a slightly sweeter and more vibrant orange-colored flour. Their milder flavor makes them great for baked goods where you don't want an overpowering "lentil" taste.
*
Green Lentils: If you prefer a more pronounced, slightly earthier flavor, green lentils are an excellent choice. Their flour will also have a slightly greenish-brown tint.
*
Black Lentils (Beluga Lentils): These small, dark lentils are prized for their rich, earthy flavor and distinctive appearance. Flour made from black lentils will be darker and carry a bolder flavor, ideal for specific savory dishes where a robust profile is desired.
Experimenting with different lentil varieties can unlock new dimensions of flavor and color in your cooking.
Beyond the Basics: Creative Applications and Storage Best Practices
Now that you know
how to make lentil flour, what can you do with it? The possibilities are vast!
*
Baking: Replace a portion (1/4 to 1/2) of wheat flour in your favorite baked goods like bread, muffins, pancakes, waffles, and cookies for a protein and fiber boost. Lentil flour adds a pleasant texture and nutty flavor.
*
Flatbreads & Wraps: Traditional Indian cuisine uses lentil flours (like Urad Dal flour) for various flatbreads and dosas. Your homemade lentil flour is perfect for recreating these authentic recipes.
*
Thickening Agent: Use it to thicken soups, stews, and gravies. It works wonderfully as a gluten-free alternative to cornstarch or wheat flour thickeners.
*
Fritters & Patties: Incorporate lentil flour into savory fritter batters or vegetable patties for added binding and nutrition.
*
Breading: Use it as a gluten-free coating for frying vegetables or proteins.
Storage Tips:
Always store your homemade lentil flour in an airtight container to protect it from moisture and pests. Keep it in a cool, dark place, such as a pantry. For optimal freshness and to prolong its shelf life, especially if you live in a humid environment or plan to store it for more than a few weeks, consider refrigerating or freezing your lentil flour. This helps prevent rancidity and keeps it fresh for several months.
Conclusion
Making your own lentil flour at home is a rewarding endeavor that empowers you with a versatile, nutrient-dense, and naturally gluten-free ingredient. While a grain mill offers the most efficient and precise results, a food processor can serve as a suitable starting point with a little patience. By carefully rinsing, thoroughly drying, and toasting your lentils, you ensure a high-quality flour ready to elevate your cooking and baking. Embrace the journey of creating this amazing ingredient from scratch, and enjoy the countless culinary possibilities it unlocks.